Yes, today we did actually get to different stuff besides tire pounding and packout. Actually, at the moment, there isn’t a whole lot of tire pounding to do until we start the back/top floor. They have to finish the roof over the garage before that will begin.
We arrived on site, feeling pretty good about our rest on the weekend. It was also a mostly cloudy day and that is a good thing as it means we won’t get fried.
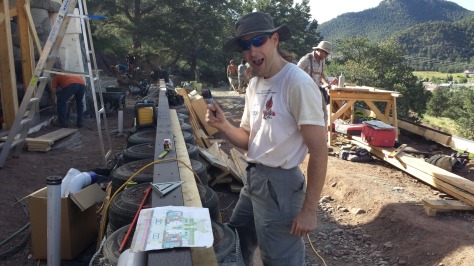
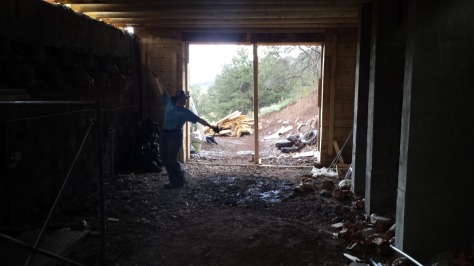
We started the day with a little layout measuring. You see they needed the layout marked on the Trex nailing plate that is sitting on top of the front tire wall. This layout shows where all of the window struts will be attached to said nailing plate. So, with sharpie (you can’t use a pencil to mark Trex, it just doesn’t show up) in hand, we studied the plans and measured out the lengths. Here is me being so happy about doing something different for a change.
That didn’t really take too long. Once we had the layout in place, we then knew where the doors were going to be. There are two doors at either end of the greenhouse hallway. This creates an airlock so as to keep more of your internal temperature in place.
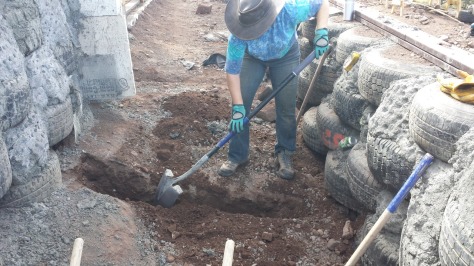
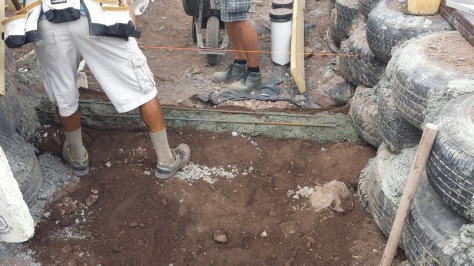
Why mention the doors? Well, said doors needed footings under them. The exterior doors needed a 4′ (1.23m) footing to get below frost line. On top of that, the exterior side had 4″ (10cm) of foam insulation against it as well. The footing itself is 12″ (30cm) wide.
Kat and I tackled the digging of the one on the west side. Here is Kat trying to find her way to China.
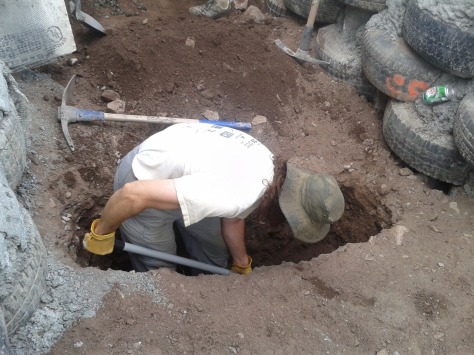
Unfortunately, she didn’t make it that far and I had to take over.
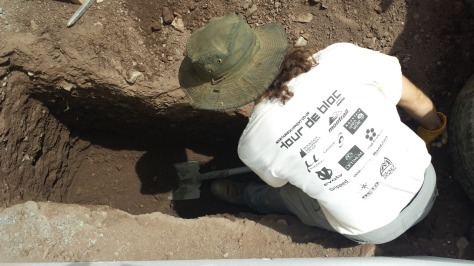
The dirt here is full of small rocks. You end up using a pick axe to loosen everything and then shovel out the loose dirt. This makes it very time consuming. Actually, it was almost lunch and I thought it was still only 10:30. We got occupied during our activities today.
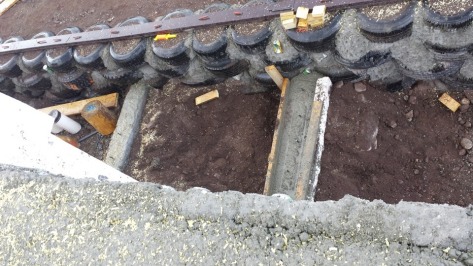
The interior door footings only needed to be 12″ deep, so those were really easy, except for the fact that we were already below grade, so they had to build it up as it were. They poured it in a very interesting way.
They laid down a layer of concrete and then formed it into the width they needed using a U made out of wood. Of course, you have to put rebar in the footing so those were gently laid on top of the first layer. Then they slowly built up the footing layer by layer, moving in dirt and rocks on the sides to keep the previous layers in place.
Kat and I weren’t working on that ourselves, but we were right beside the guys who were. We all had much discussion about this technique as it seemed a bit weird. In the end it worked out, but it took quite a while. It probably would have taken less time to build the form and just pour it than it did to do it this way, but they were only doing what they were told.
Incidentally, they did build a form to pour the other interior door footing.
WE INTERRUPT THIS REPORT TO BRING YOU THIS MUSICAL INTERLUDE
Sung to the tune Livin’ La Vida Loca, by Ricky Martin
We’re into concrete footings, pack out and tire walls
We’ve been busy putting big logs up on those walls
We’re making good progression new stuff happens every day
For sure there is no question Earthships are here to stay
The weather doesn’t stop us, not the hot or pouring rain
Keep your eye on that hammer or you’ll end up with some pain
Maybe walking with a cane. Look out!
Uptop, chainsaw out we’re cutting la vigas shorter
The next piece falls right down, we’re cutting la vigas shorter
Can walls put in between, we’re using up lots of mortar
Perched on the wood beam, we’re cutting la vigas shorter
Cutting la vigas shorter
We’re cutting la vigas shorter
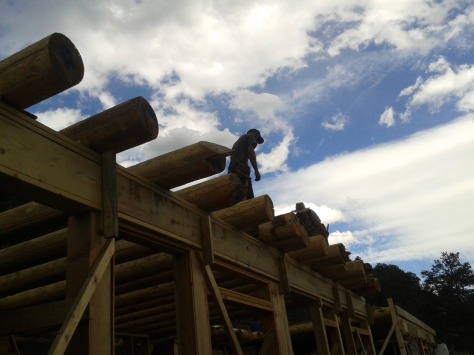
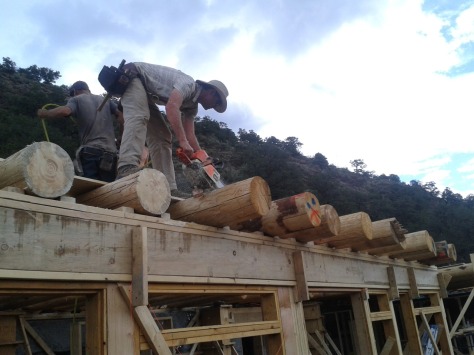
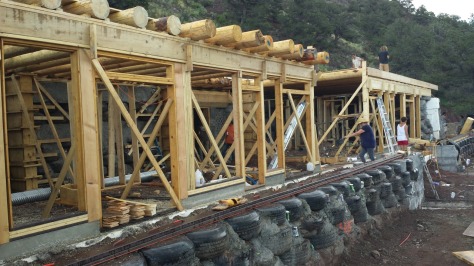
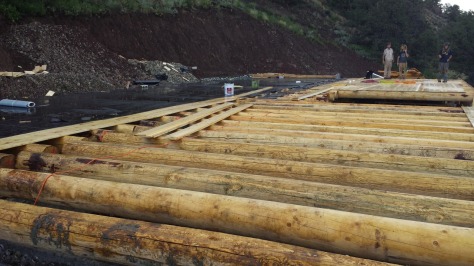
Yes, all of those vigas that were put up on Friday had to be positioned, leveled, drilled and have a long piece of rebar pounded through them into the beam to hold them in place. Once that is done, the ends have to be trimmed, as you can see above.
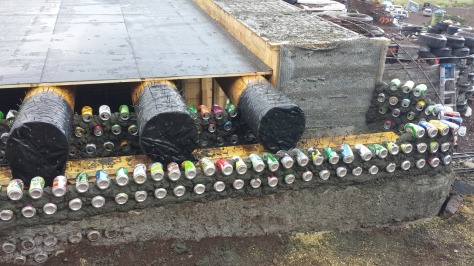
There was a lot of other interesting things going on today too. Like all of the work going into the roof over the garage. Here you can see how then have wrapped the ends of the logs and are pounding nails in to them. This is called porcupining (or hedge-hogging if you prefer :P) and it is done so when concrete or mortar is put around them, the nails bite into it and hold everything together.
Here is a closer view of that. All of the ends of the logs now look like Pinhead from the Hellraiser movie series. You can also see another can form being built that will be filled with more concrete. It’s not normally finished this way, but they need another bond beam to support the tires for the back/top floor. So, another bond beam it is.
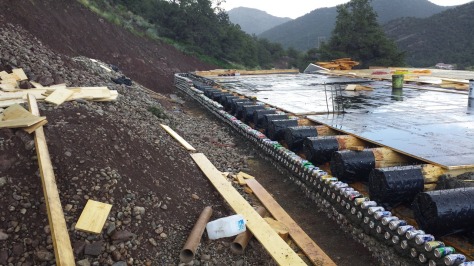
Here you can see a shot further down the line showing the progress of the can wall form.
Here is a picture of the front/bottom floor at the end of the day. They didn’t quite finish trimming all of the logs as it started raining and there was a big thunder clap at one point. Not a good time to be standing on a roof using power tools.
They did finish trimming the ones on the east side though and you can see the nailing plate that they put over the ends of the logs.
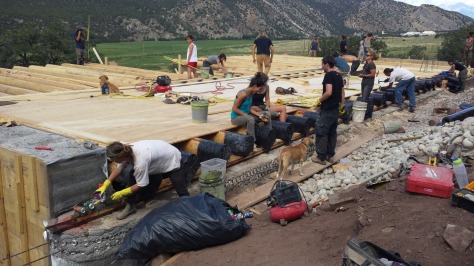
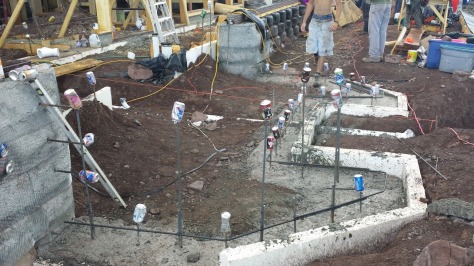
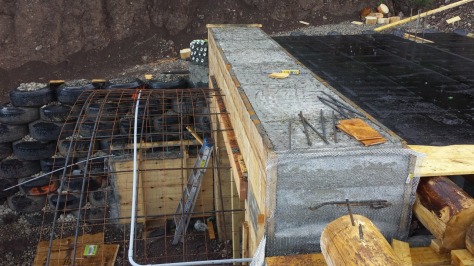
This is the footing for the atrium. It was poured over the weekend and now they’re adding more rebar to it to continue the pour. Not sure when that will happen as we ran out of cement today, but new pallets of the stuff seem to show up when needed.
The logs are covered with simple 1′ (2.5cm) pine decking boards and then roofing membrane is put over that. There will be other layers, but I’m not certain what they will be as this will also be the floor of the back section so it will probably be a bit different than if they were finishing for a standard roof to the elements.
Here is a good shot of the arch over the west side entrance to the garage. You can see it has been poured now. It’s pretty massive. It’s gonna look interesting when they take the forms off it too. Both arches for each end of the garage have been poured now.
Alas, by the end of the day, our little footing task was not quite complete. We only started pouring it around 15:30 and we had several people working wheel barrows (including me) of concrete to try to get it done for the end of the day. Some of the wheel barrows are on their last legs. I had one fall over on me and I swore really loudly. We picked it back up and shoveled what we could back into the wheel barrow.
In the end, they ran out of cement, as I mentioned before. So we put some extra vertical rebar pins in the concrete so we can finish the pour tomorrow.
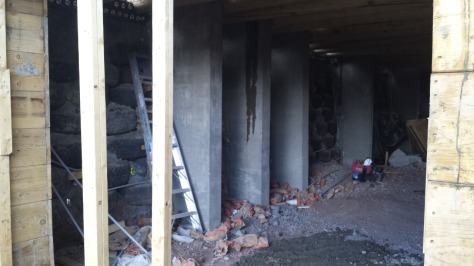
Hey, remember me mentioning taking off the forms around the buttresses? Well, looking into the garage now, you can see what they look like.
When it decided to rain hard at the end of the day, everyone took shelter in the garage. Including this crazy lady.
That was the end of our day and I have to say what a splendid day it was. We weren’t overworked, or watching the clock. When lunch came around I was actually eager to get back to our little project. All around, very satisfying.
We headed back to camp and made dinner. We had purchased some green beans at the farmer’s market on the weekend and I had a plan for those.
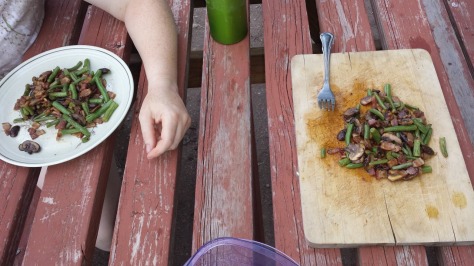
If you ever want a really simple side dish (or, if you make a lot of it, main meal), you can try this. Cut up some bacon into small bits and fry them in a big pan. Add minced garlic and mushrooms. Cook for a bit then add the green beans. Put in a table spoon of honey mustard (or in our case, a tbl spn of dijon and a tbl spn of maple syrup) and some fresh squeezed lemon juice. Salt and pepper to taste.
It always turns out awesome and it used up a bunch of stuff that we had that needed using up.
So there you go. Bacon, green bean, mushroom happy meal.
